Zion National Park West Rim: Ultimate Guide

Disclosure: Your use of this site constitutes agreement with our Terms of Use and Purchase, including details regarding affiliate links which may be included in this post.
For anyone looking for warmer hiking weather, I can promise you an amazing experience exploring Zion National Park’s stunning cliffs and deep canyons.
Zion National Park is packed with tons of accessible hiking trails of varying lengths and difficulty levels, offering something to both beginner and experienced hikers. The park has short hikes with opportunities to take breaks and enjoy the views to full-day treks. Check out these 12 hikes on the west and most accessible side of Zion National Park!
West Rim Trail

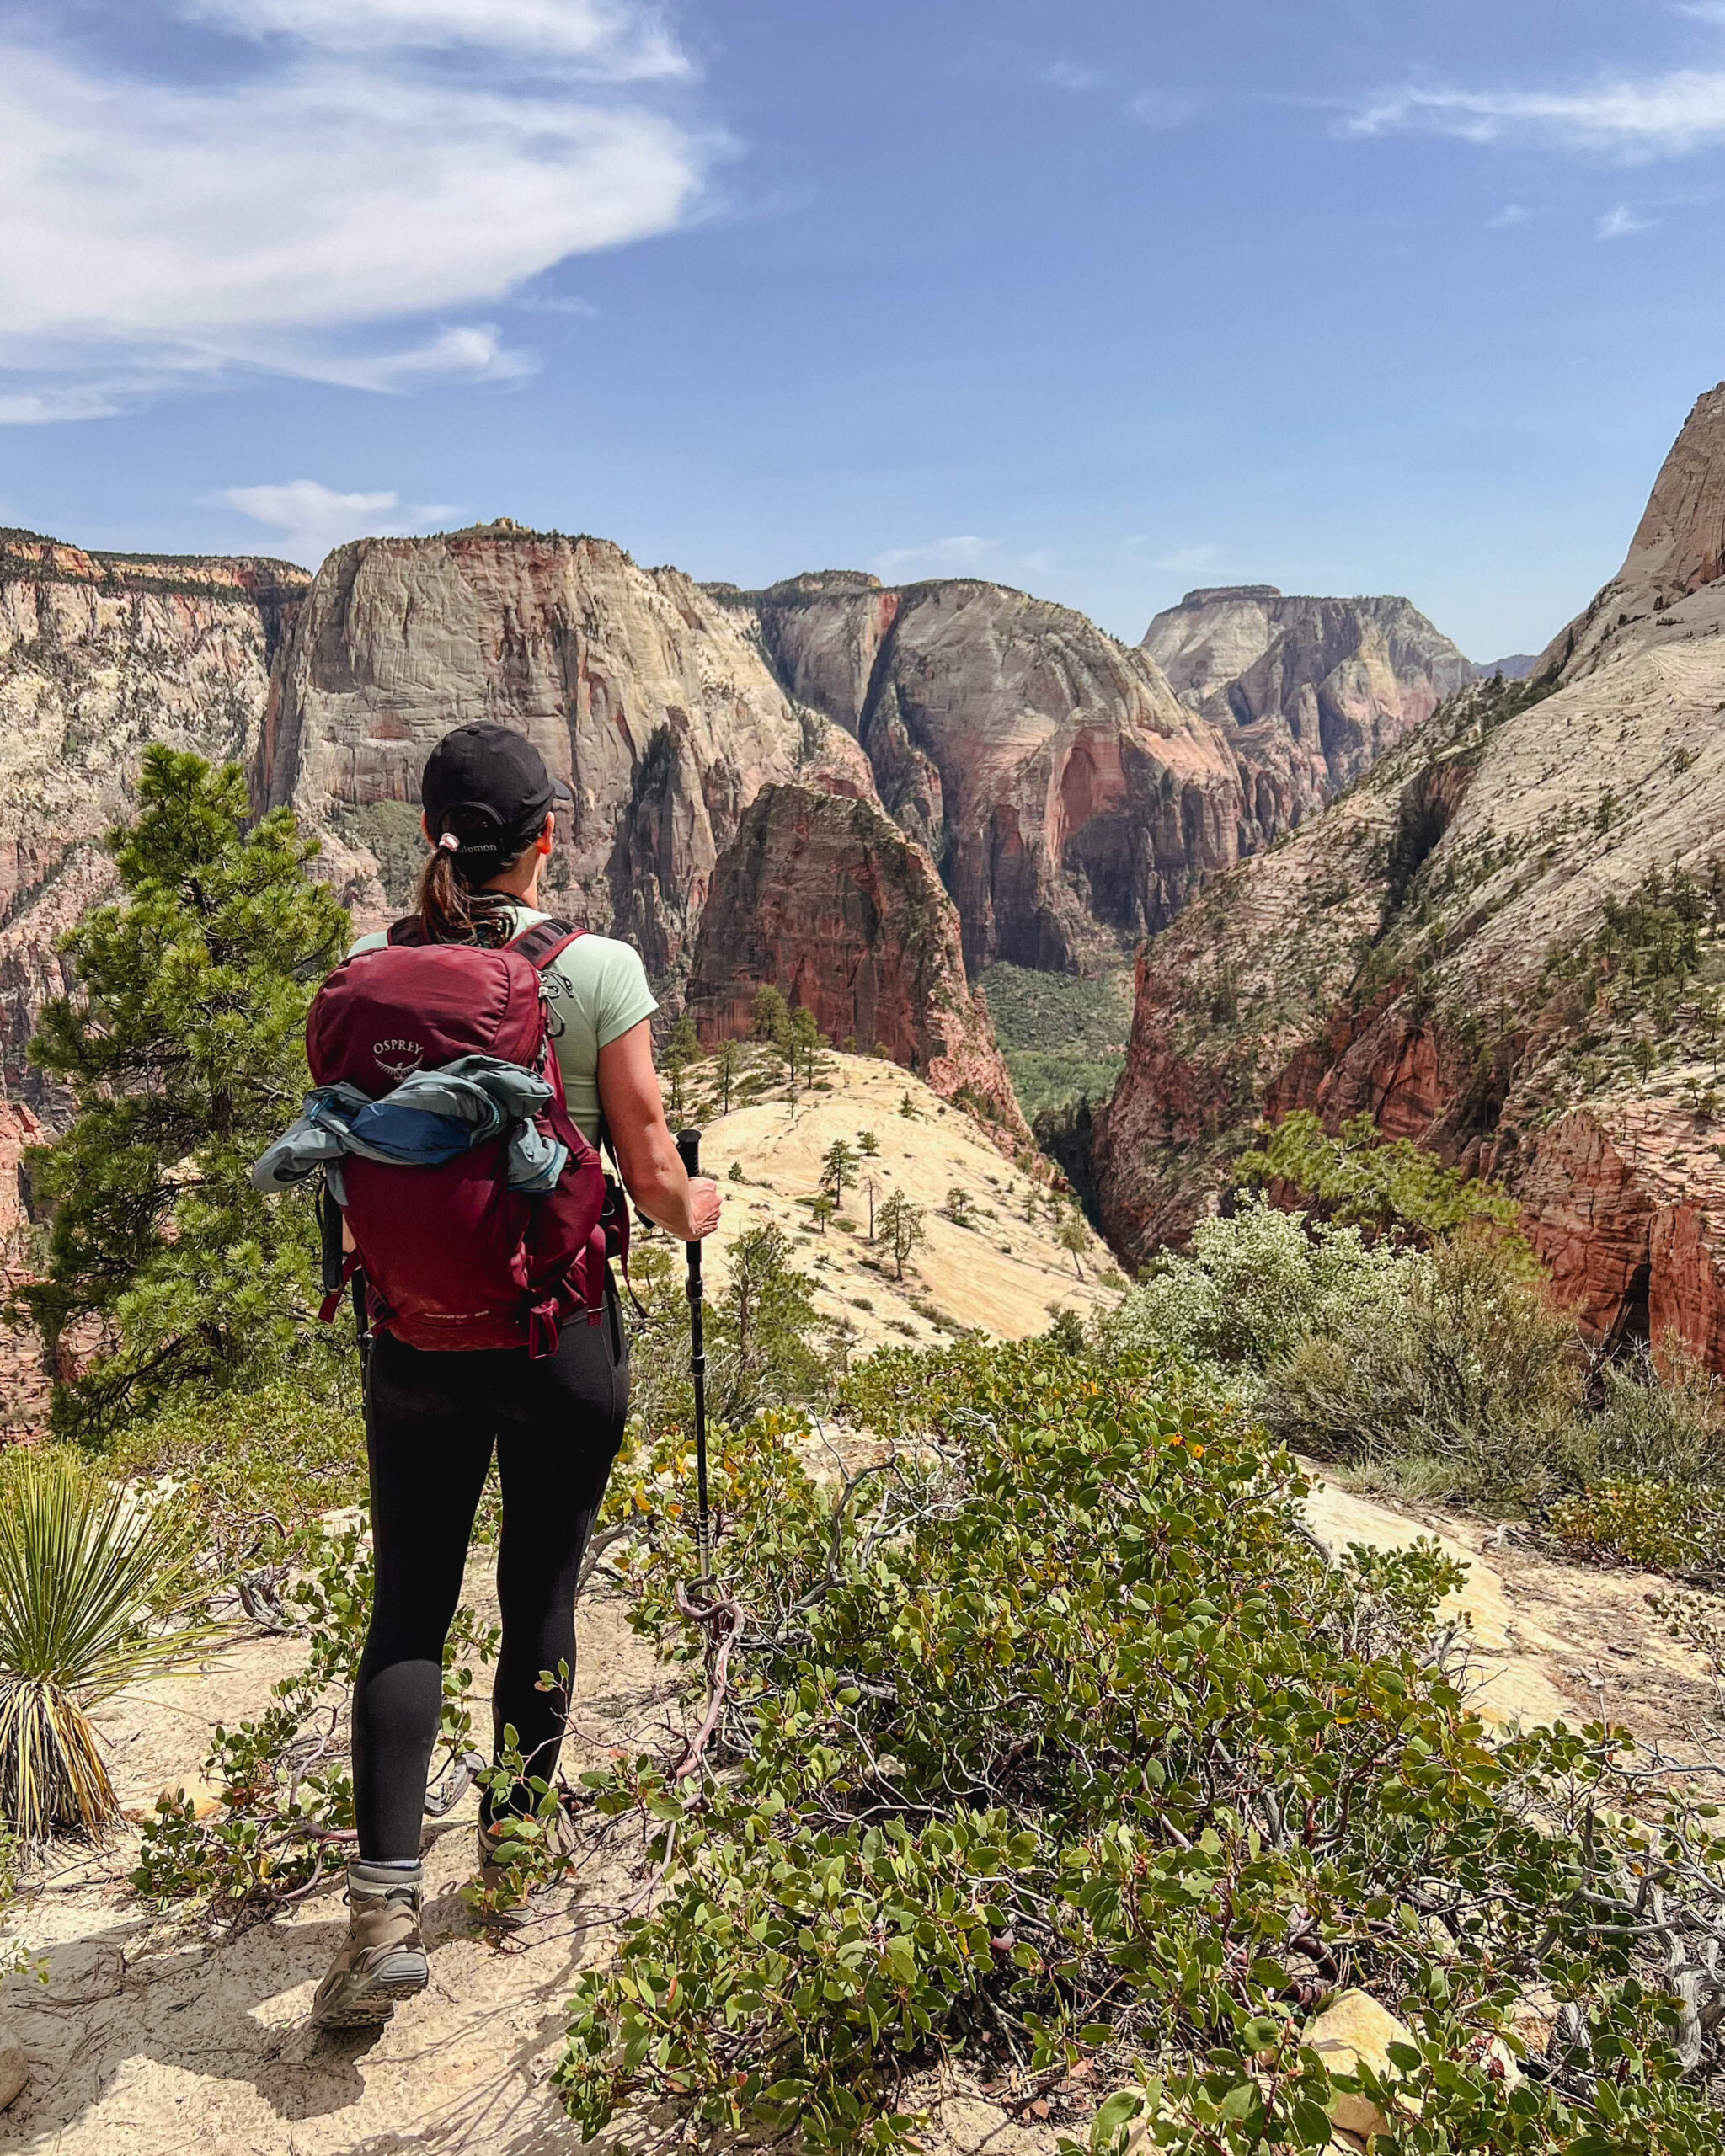
If you’re up for a challenge, the West Rim Trail is definitely worth including in your itinerary. Many hikers stop at Scout Lookout to take in the views of Angel’s Landing and it’s brave hikers. However, hiking a bit further will take you away from the crowds while still being able to immerse yourself in Zion’s beautiful scenery.
After just 0.8 miles from the beginning of the West Rim Trail, you’ll hit the switchbacks that head up the mountain on some pretty steep grades. It’s nothing to be afraid of though as the trail is plenty wide. Take breaks along the way and bring plenty of water. 1.2 miles into your journey, you’ll head through a shadier canyon before ascending back up to the lookout point of Scout Lookout.
Trail: Scout Lookout to West Rim Trail
Length: 3.6 miles out and back to only Scout Lookout / 14.1 miles one way or 28.2 miles out and back for the entire West Rim
Elevation Gain: 1,116 ft to only Scout Lookout
Difficulty: Hard
Refrigerator Peak

After wandering further along the West Rim Trail, I found this magnificent peak that overlooked Angels Landing. The views were breathtaking and the best part, there was no one else around!
Make your way past Scout Lookout and Angels Landing on the West Rim Trail. As you go along, you’ll pass some yellowish rocks that resemble potatoes au gratin. Keep trekking until the trail starts to widen and smooth out.
Then get ready for a steeper climb. You’ll be hiking Refrigerator Peak! It won’t quite measure up to Angel’s Landing and its much much shorter, but don’t let that deter you. It’s still well worth it for the quiet views. Just make sure you don’t have a fear of heights on this one. The last bit to the top of Refrigerator Peak will require some scrambling along some shearer edges.
When you’re ready for some chill time, head back to the smoothed-out rock at the base of Refrigerator Peak. Enjoy the view, then head back while keeping an eye out for Angels Landing along the way.
Trail not tracked and not on AllTrails
Angels Landing
Angels Landing is a hike that is for the most extreme of adventure seekers. If you’re a hiker looking for a thrill and want to test yourself against even the toughest trails then Angels Landing is not one that can easily be conquered!
Starting at Scout Lookout on the West Rim Trail, Angels Landing offers breathtaking views but also terrifying heights. I personally had no choice other than to turn away and head to Refrigerator Peak instead.
If you’re still ready to tackle Angels Landing, make sure you get a permit from recreation.gov well in advance. You can try your luck at the day ahead lottery, but I wouldn’t risk it. Enter the lottery ahead of time, during the specified entry windows, for your chance at one of seven selected days (or windows of time) to explore Angels Landing.
Trail: Angels Landing Trail
Length: 4.4 miles out and back (including starting on the West Rim)
Elevation Gain: 1,604 ft elevation gain
Difficulty: Hard
The Watchman Trail

People come up from the Watchman Campground to watch the sunset over Zion National Park. If you ask me though, I thought the sun setting on these mountains behind the main view was the best part.
But, be careful when doing sunset hikes. if you decide to enjoy the views until after sundown then the park shuttle will no longer be operating. Plan ahead and leave earlier or be prepared to walk back to your hotel.
Before you head up this 3-mile trail, make sure to also pack enough water. Even in April at 6 pm it’s extremely hot! And don’t forget your headlamp, or else when the sun sets you’ll be stuck in the dark on the way back down.
Trail: The Watchman Trail
Length: 3.1 miles out and back
Elevation Gain: 636 ft
Difficulty: Moderate
The Zion Narrows Riverside Walk
Take the Riverside Walk if you want to cool off from summer’s heat. It runs along a beautiful stretch of the Virgin River before leading into The Narrows hike. But, don’t expect much more than a pleasant walk. This trail is a small teaser in comparison to the narrower and deeper hike through The Narrows.
Trail: The Zion Narrows Riverside Walk
Length: 1.9 miles out and back
Elevation Gain: 193 ft
Difficulty: Easy
The Zion Narrows
If you’re looking for a unique way to beat the heat and get your adrenaline pumping, I highly recommend The Narrows hike!
You’ll be two and a half miles in when you’ll meet a fork in the trail! Keep going left at the fork in the river for a narrower section of the slot canyon known as ‘Wall Street’. Not many make it to this part of the trail, but those that do are extremely rewarded.

Floating Rock will be about halfway through the Wall Street section. I highly recommend you keep going and at least finish out the Wall Street section! It will open back up quite a bit so you’ll know when you’re through it.

At the end of the Wall Street section you can continue to Big Spring. If you do this, I recommend you start as early as possible. I stopped because I didn’t want to be in the canyon, alone, too late in the day and the water level was starting to get quite a bit deeper.
What to Wear
Zion Outfitter, near the park entrance, is the go-to spot for rental gear to stay dry while hiking The Narrows. I rented the Dry Bib Package for $55 which is recommended when water levels are high and temperatures are cold.
The package comes with a dry bib, neoprene socks to keep your feet warm, and canyoneering boots that will help you walk across slippery rocks. It also comes with a wooden hiking stick that I would recommend over your trekking poles. The hiking stick will provide better stability. You also won’t have to worry about ruining your trekking poles. Make sure to also bring a waterproof backpack, or you can rent one from Zion Outfitter.
Check out the description for each package offered by Zion Outfitter to see what fits best based on the water levels and the time of the year.

Safety Precautions
Additionally, before you head to this slot canyon, check the weather forecast! Rain in Zion means flash floods could happen at any time and you should postpone your hike until another day.
Zion National Park is proactively helping you avoid unexpected flash flooding with its flash flood potential rating system that informs visitors of the potential danger they face on any given day. You can also check with the rangers at the visitor center.
While on the hike, watch for the following:
- Rain clouds or darkening sky
- Surge in water
- Change in water color
- Roaring water sounds
- Increased debris in the water
You can’t outrun a flash flood. If you are in a canyon and it looks like it’s going to rain, seek higher ground right away.
Trail: Zion Narrows Bottom Up to Big Spring
Length: 8.9 miles out and back
Elevation Gain: 695 ft
Difficulty: Hard
Sand Bench Trail

Looking to escape all the crowds? The Sand Bench Trail may be quite a bit sandier than most, but it’s definitely worth that extra work for some much-needed peace and quiet.
You can take this trail one way or another, the easy way or the hard way. AllTrails suggests going counter-clockwise. However, the counter-clockwise route includes deeper amounts of sand and steeper terrain that makes it a real challenge to get through. I decided to take the path of least resistance and go with the clockwise route. However, taking the counter-clockwise route will give you amazing scenery right in front of your eyes for much of the way.
If you’d like to avoid any unpleasant surprises and by that I mean horse poo and bugs, then I’d also recommend starting your journey at the Court of the Patriarchs shuttle stop instead of the Zion Lodge.
Don’t want to get your spend that much energy? You can actually take a horse instead!
Trail: Sand Bench Trail
Length: 5.6 miles out and back
Elevation Gain: 728 ft
Difficulty: Moderate
Court of the Patriarchs

If you want to see the beauty of Zion National Park’s Court of the Patriarchs, avoid the tourists at the traditional lookout point and take things more off-the-beaten path. I stumbled upon this stunning spot right off the Wrangler and Sand Bench Trails.
You’ll get to enjoy a breathtaking view of the Court of the Patriarchs not many people know about! Surrounded by peace and quiet, take your time to appreciate this spot’s natural beauty. Before you leave, don’t forget to snap a few photos at this beautiful place!
Across the road from the Court of Patriarchs shuttle stop on the Wrangler Trail
Emerald Pools and Kayenta Trail

Zion National Park may not be a park filled with lakes, but it does have its popular Emerald Pools.
After hiking to the Lower, Middle, and Upper Emerald Pools, I felt a bit of disappointment. The pools were really more a brown than an emerald. I more so enjoyed my way back down on the Kayenta Trail, a trail with beautiful views and much less tourists!

Don’t forget to pack a lunch! I relaxed with a yummy turkey and cheese sandwich on top of a rocky outcrop next to the Upper Emerald Pool. Be sure to also use sun protection on these exposed trails. I would recommend a hat and sun shirt in addition to sun screen!
Trail: Emerald Pools Trail (includes the Emerald Pools, Kayenta, and Grotto Trail)
Length: 3 mile loop
Elevation Gain: 620 ft
Difficulty: Moderate
Grotto Trail

Take a relaxing stroll on the Grotto Trail which connects the Grotto and Zion Lodge shuttle stops. This path is very leisurely as it is mostly flat. Unfortunately, there are no mind-blowing views though as it is alongside the main park road.
Trail: Zion Grotto Trail
Length: 1.2 miles out and back
Elevation Gain: 78 ft
Difficulty: Easy
Pa’rus Trail

This trail is perfect if you’d like to do a little bike riding while in the park. The Pa’rus Trail is considered easy not necessarily because of the length, but because it is completely paved with minimal elevation gain. If you decide to walk it, you can always cut the trail short by hopping on a shuttle back to the visitor center.
Trail: Pa’rus Trail
Length: 3.2 miles out and back
Elevation Gain: 134 ft
Difficulty: Easy; Wheelchair Accessible
Archaeology Trail

For those looking for a mini adventure in Zion National Park, the Archaeology Trail is perfect! Just a moderate five minutes uphill from the Visitor Center will take you to foundational remains of an Ancestral Puebloan food storage shelter. The best part? You’ll get amazing views at the top!
Trail: Archaeology Trail
Length: 0.3 miles out and back
Elevation Gain: 52 ft
Difficulty: Easy
With lots of great trails to explore, the west side of Zion National Park is an adventurer’s dream come true! But, what if I could only choose a few of the best trails on the west side of Zion National Park?
The Narrows and The West Rim! Now, I’m sure plenty of people would also include Angels Landing in their list of top hikes, which sees a portion of the West Rim. Whatever you do though, there’s no way you should skip out on The Narrows! It is one of the most unique, amazing hikes I’ve ever done!
For more of my favorite hikes, check out the Best Lake Hikes in Glacier National Park.